A. Setup #
-
Install Homebrew, a very easy to use package manager. To install, go to your Terminal and enter the following:
/bin/bash -c "$(curl -fsSL https://raw.githubusercontent.com/Homebrew/install/HEAD/install.sh)"Note: During the process, you may be prompted to enter a password. When you enter your password, nothing will display on the terminal, but the computer is actually recording your password. This is a security measure. Just type your password and hit enter.
You may be prompted to hit enter again to start the installation after entering your password.
-
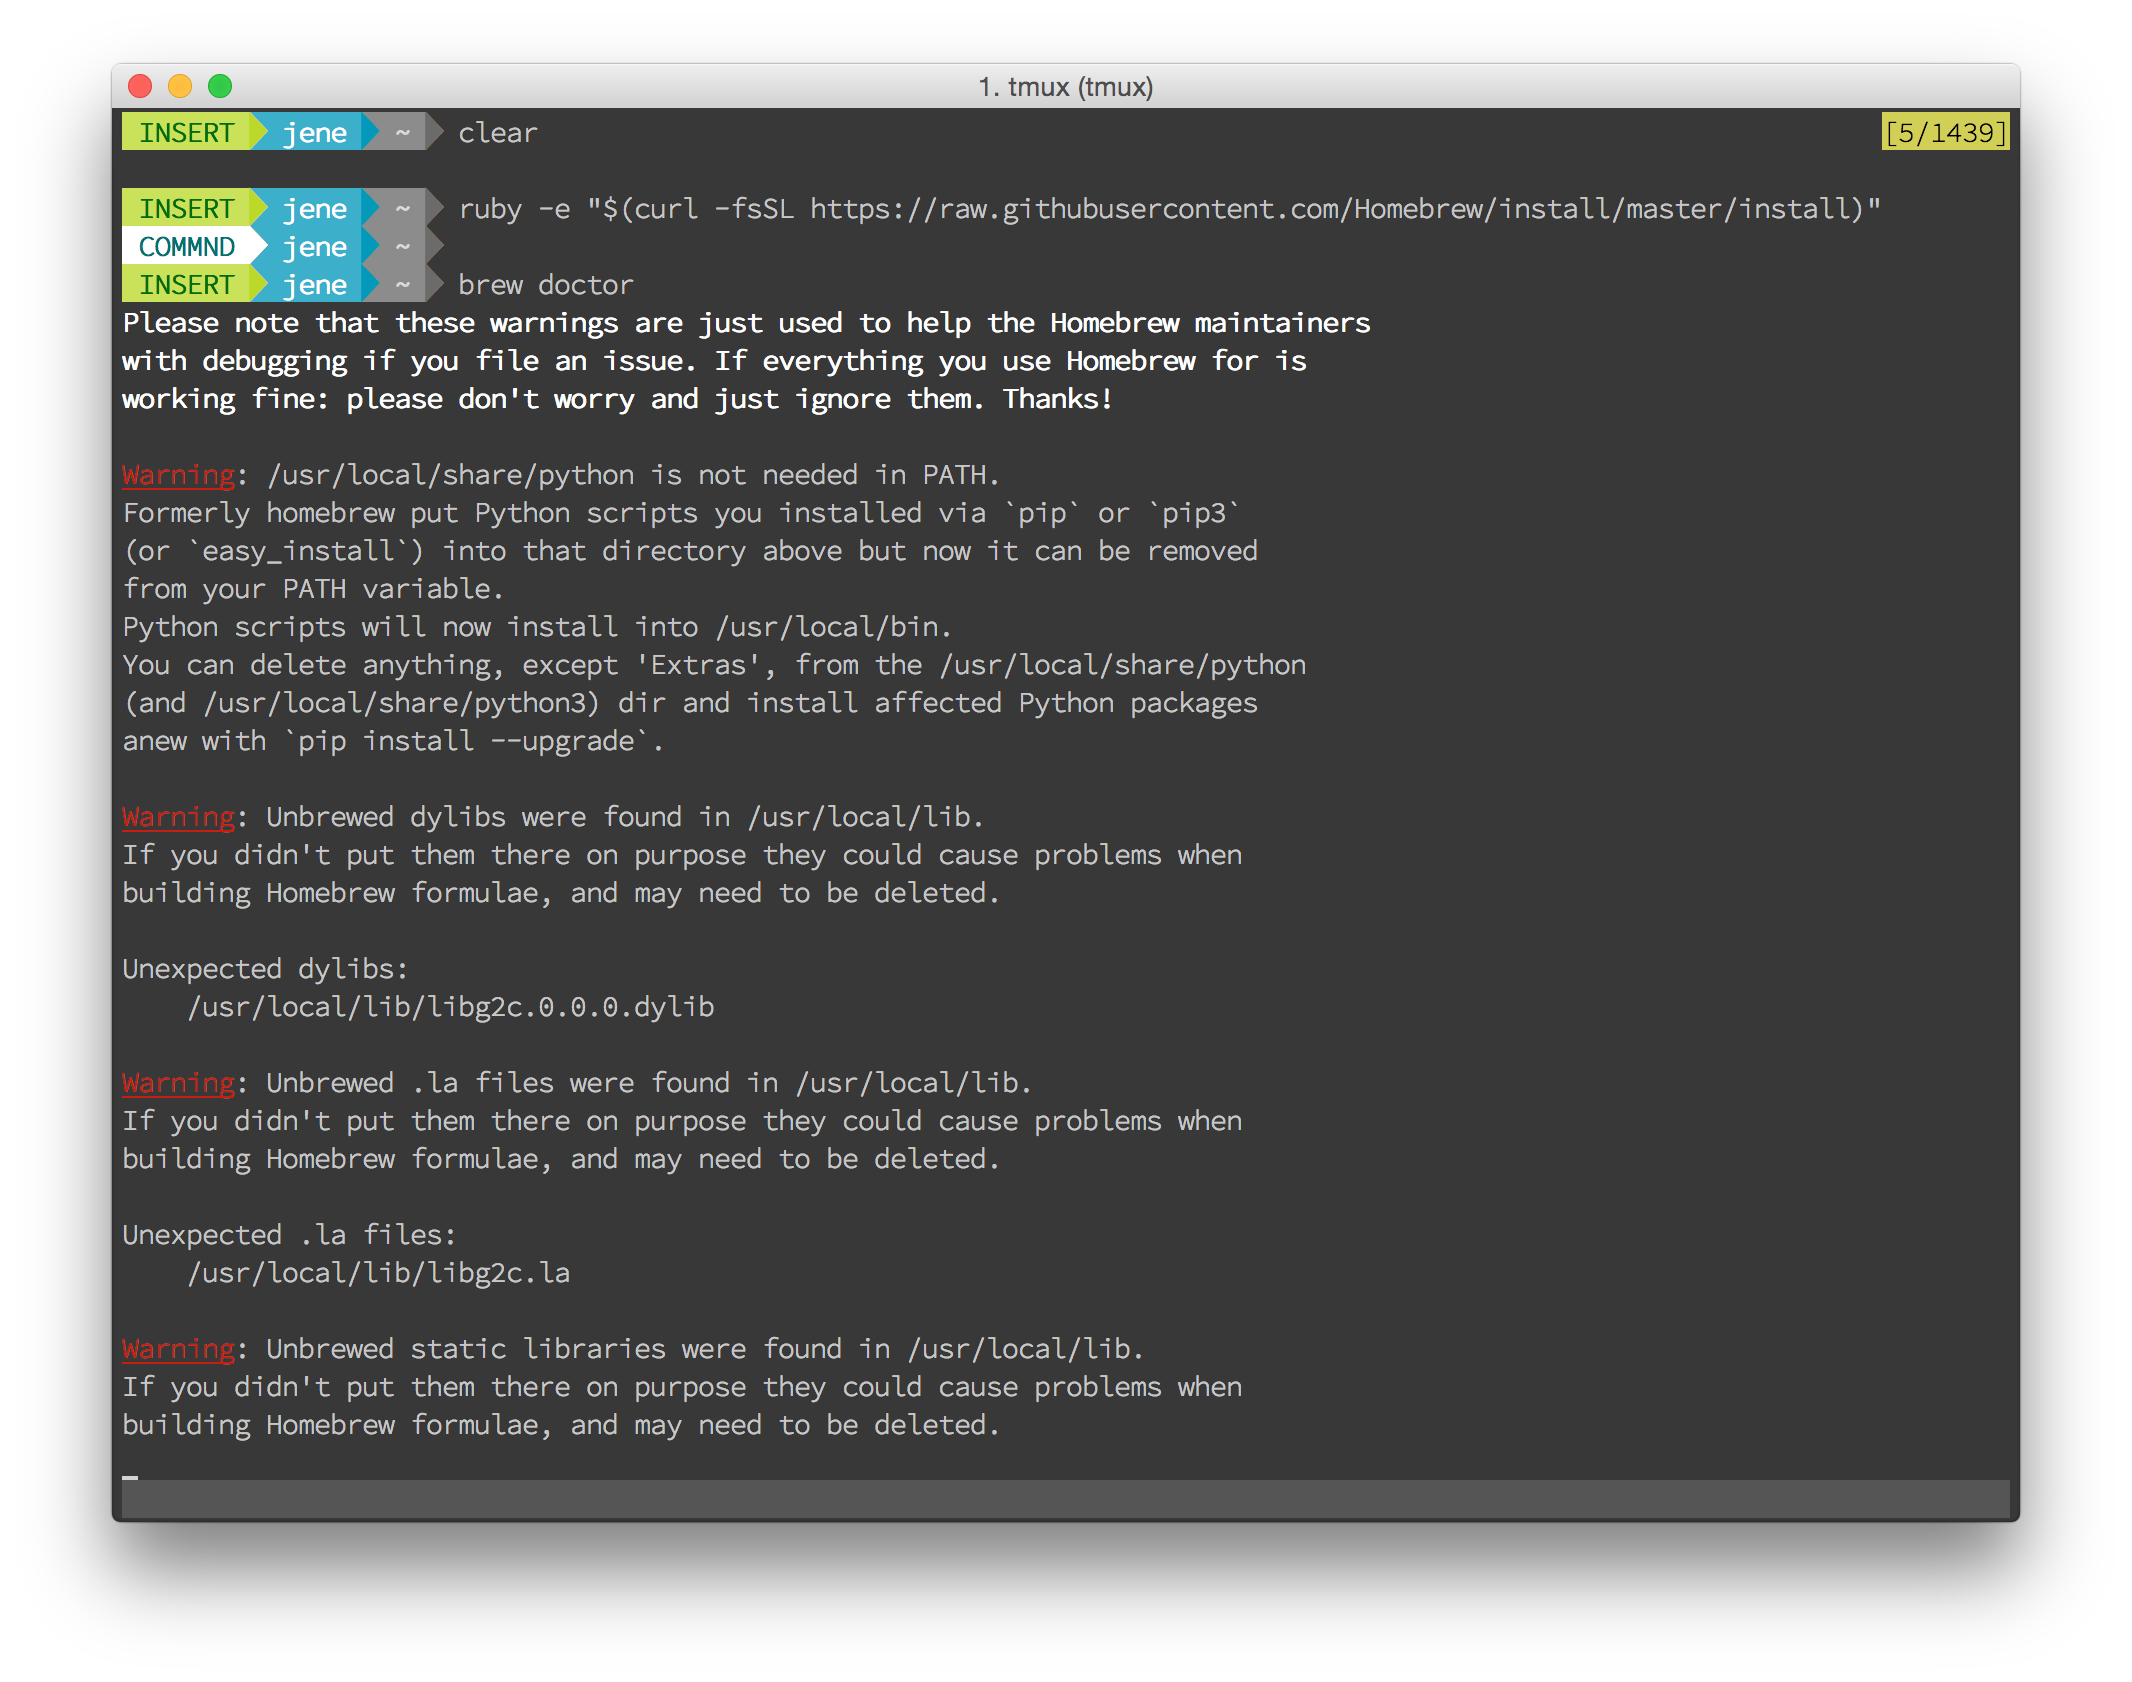
Then, check to make sure brew is working properly on your system by typing:
brew doctorYou may encounter warnings like this, but you should be fine. Proceed to the next step.
-
If you encounter a warning asking you to download Command Line Tools, you will need to do this. Please follow the StackOverflow post here.
-
Install the Java JDK and git. You can do this by typing:
brew install --cask java
brew install git
If you’re getting an error for the Java install, try simply:
brew install javaIf in the Java install output, you see “For the system Java wrappers to find this JDK, symlink it with” – run the command it says to, starting with
sudo ln.Note that some versions of Homebrew will install Java 18. Any version of Java that is Java 17 or higher (Java 18 included) will be sufficient for the course.
After successfully installing java, please run
sudo ln -sfn /opt/homebrew/opt/openjdk/libexec/openjdk.jdk /Library/Java/JavaVirtualMachines/openjdk.jdkand put in your password. Then proceed to the next step. -
Install the git credentials manager:
brew tap microsoft/git brew install --cask git-credential-manager-core -
Verify your git installation by typing:
git --versionYou have successfully installed git if this command returns a valid version number and does not fail.
Similarly, you can verify your Java installation by typing:
java -version
javac -version
Both of these commands should succeed and show version 17. If both installations are good, woohoo! Skip the rest of this guide and return to the lab.
B. Java Install Issues #
If you are still having Java install issues with Homebrew after having retried the steps and/or conferring with your TA, it might be time for a manual install. To install Java manually, follow the steps below. If at any point, you believe one of the steps you have done did not work, please get in touch with your TA before proceeding.
-
Download “x64 DMG Installer” (non-M1 Mac) or “Arm 64 DMG Installer” (M1 Mac) from this link and run the installer with the default options.
-
Verify that the download succeeded by typing:
ls /Library/Java/JavaVirtualMachinesYour output should include JDK 17 (
jdk-17.0.3.jdk) or newer. -
The Java installation should have included a script that outputs the file location of the most recent JDK installed. Run the following command:
/usr/libexec/java_homeThe output you get should look similar to the following, which is the output on my personal computer. In particular, you should see JDK 17 (or newer) in the output:
/Library/Java/JavaVirtualMachines/jdk-17.0.3.jdk/Contents/Home -
Now, all that remains to do is tell the system where our install folder is. First, run
echo $0to determine if you are running zsh or bash. The next command you have to run will be slightly different depending on whether you are running zsh or bash.If you are running zsh, type the following command:
echo 'export JAVA_HOME=$(/usr/libexec/java_home)' >> ~/.zprofileIf you are running bash, type the following command:
echo 'export JAVA_HOME=$(/usr/libexec/java_home)' >> ~/.bash_profile -
This step is important. Completely close out of your terminal window, by using CMD+Q.
If you have worked with this type of stuff before, you may be tempted to source your zprofile or bash_profile. Do NOT be tempted; simply close out of your terminal with CMD+Q. (Did you echo into the correct file? If you source it, you won’t know.)
-
Restart your terminal, and verify that your environment variables have been setup correctly by running:
echo $JAVA_HOMEThe output of this command should be non-empty and include the path to your JDK 17+ installation
-
Java should properly be installed! As mentioned above, you can test this with the commands:
java -version
javac -version
C. Git Install Issues #
If you had installation issues with Git using Homebrew, try the instructions “Installing on macOS” at this link. Contact your TA if you are still having issues.